A Step-by-Step Guide: Sanding a Parquet Floor with Bona Products

Alex Hill |
Introduction:
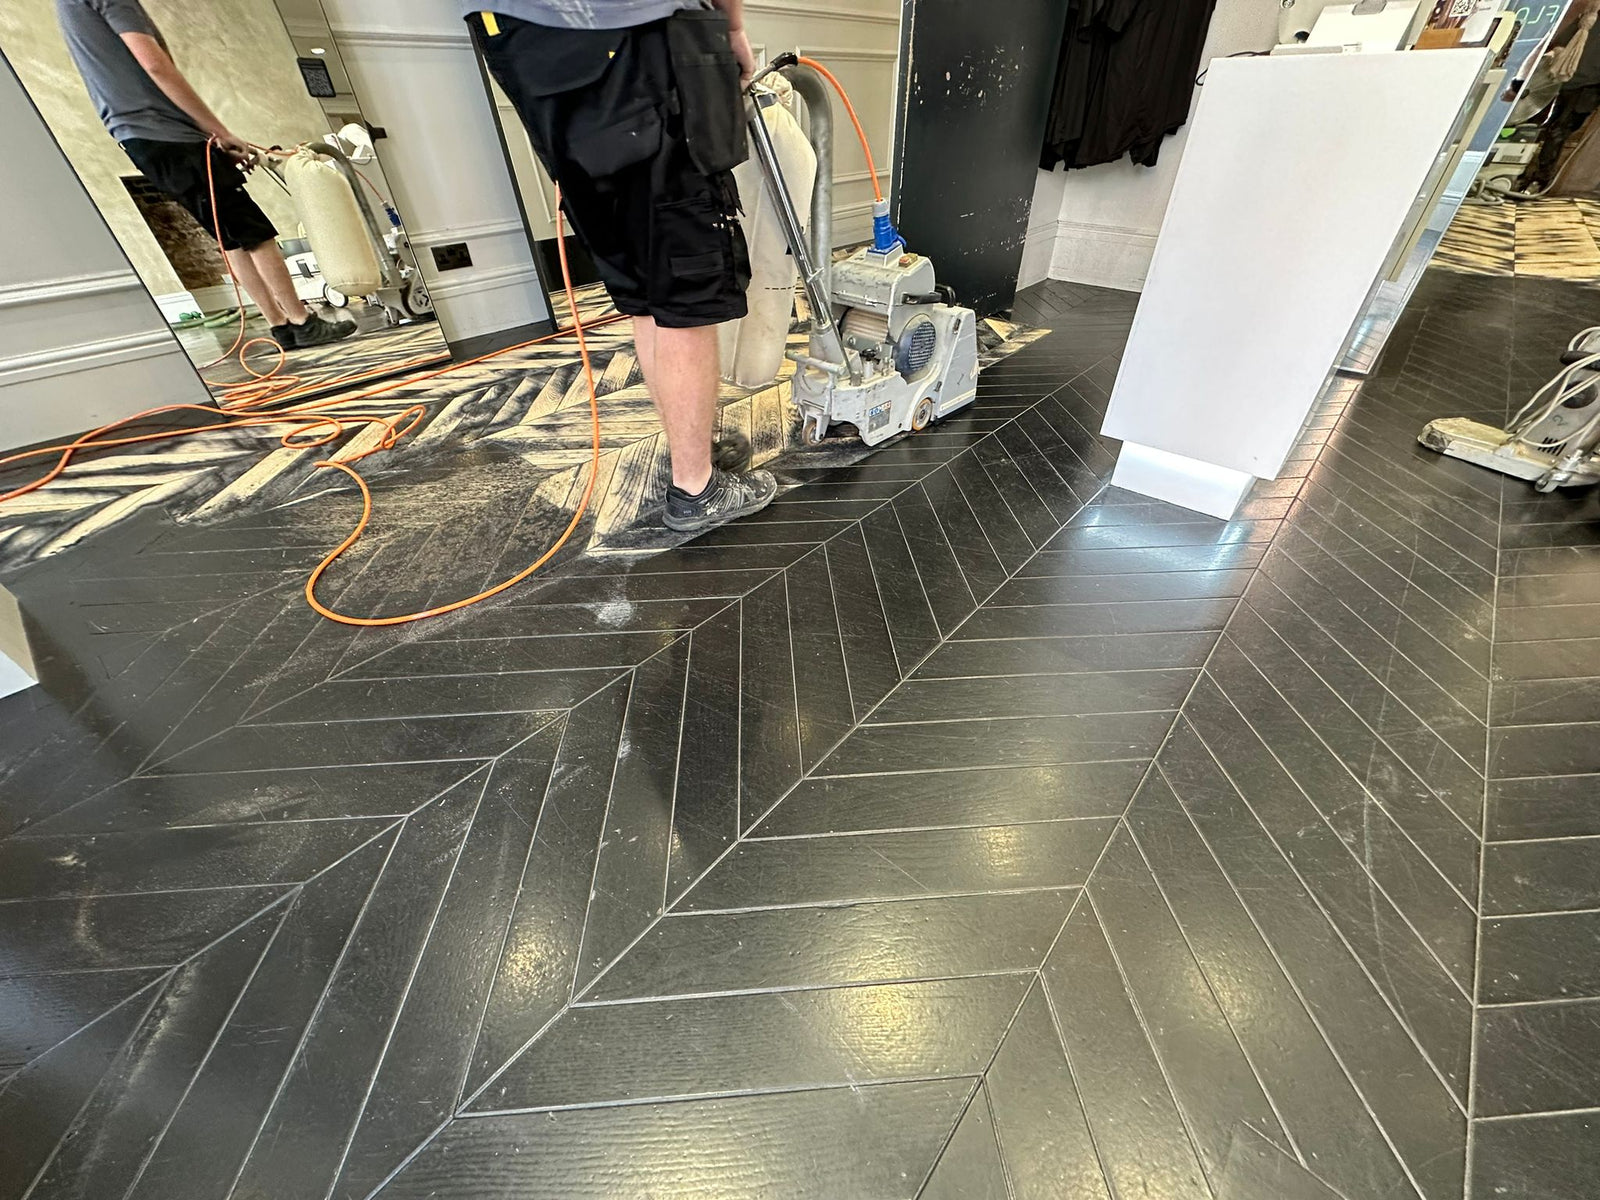
Sanding a parquet floor is an essential step in revitalising its beauty and ensuring its longevity. Bona, a trusted name in the flooring industry, offers a range of high-quality products specifically designed for this purpose. In this comprehensive guide, we will walk you through the step-by-step process of sanding a parquet floor using Bona products. With the right tools and techniques, you can achieve a smooth, flawless finish that breathes new life into your parquet floor.
Step 1: Prepare the Work Area
Before starting the sanding process, ensure that the work area is clear of furniture, rugs, and any other items that could obstruct your progress. Cover nearby surfaces with plastic sheets to protect them from dust and debris. Additionally, make sure the room is well-ventilated by opening windows or using fans.
Step 2: Gather the Necessary Tools and Materials
For sanding a parquet floor, you will need the following Bona products and tools:
- Bona Belt Sander or Bona FlexiSand
- Bona Edge Sander or Bona FlexiSand
- Bona Buffer
- Bona Abrasives (start with coarse-grit and progress to finer-grit)
- Vacuum cleaner or Bona Dust Care System
- Bona Wood Filler (if necessary)
- Bona Finishing products (e.g., Bona Mega or Bona Traffic)
Step 3: Begin with Coarse Grit Sanding
Attach the appropriate grit sandpaper to the Bona Belt Sander or Bona FlexiSand. Start with a coarse-grit sandpaper (e.g., 36 or 40) to remove the old finish, scratches, and imperfections. Move the sander in the direction of the wood grain, ensuring even and consistent sanding across the entire parquet floor. Use the Bona Edge Sander or Bona FlexiSand for sanding the edges and corners (a corner sander could be required) that the belt sander cannot reach.
Step 4: Progress to Medium and Fine Grit Sanding
Once the initial sanding is complete, switch to a medium-grit sandpaper (e.g., 60 or 80) to refine the surface further. Sand the floor using the same method as before, moving in the direction of the wood grain where possible. Repeat the process with a fine-grit sandpaper (e.g., 100 or 120) to achieve a smooth and uniform surface.
Step 5: Remove Dust and Fill Gaps (if necessary)
Thoroughly vacuum the sanded floor using a vacuum cleaner or the Bona Dust Care System to remove all dust and debris. Inspect the floor for any gaps between the parquet tiles. If you find gaps, use Bona mix and fill to fill them, following the manufacturer's instructions. Allow the filler to dry completely before proceeding.
Step 6: Buffing and Final Preparation
Use flexisand with duo plate or attach a Bona Buffer with an abrasive pad (p120 preferably) to the machine. Buff the sanded floor to remove any remaining marks, scratches, or imperfections. This process will create a smooth and even surface, ready for the application of the finishing products. Once buffed, vacuum or sweep the floor again to ensure it is entirely dust-free.
Step 7: Apply Bona Finishing Products
Now it's time to apply the Bona finishing products of your choice, such as Bona Mega or Bona Traffic. Follow the manufacturer's instructions for application, including the recommended number of coats and drying times between coats. Use a high-quality brush, roller, or applicator pad to achieve an even and consistent finish.
Step 8: Allow Sufficient Drying Time
